· DataEase · Tutorials · 2 min read
Export Inventory for a Specific Location or Collection
Export inventory (stock) for a chosen collection and/or location(s) into CSV/Excel using DataEase’s filters and dynamic per-location quantity columns.
Steps:
1. Create an export
In DataEase, go to New Export → Products.

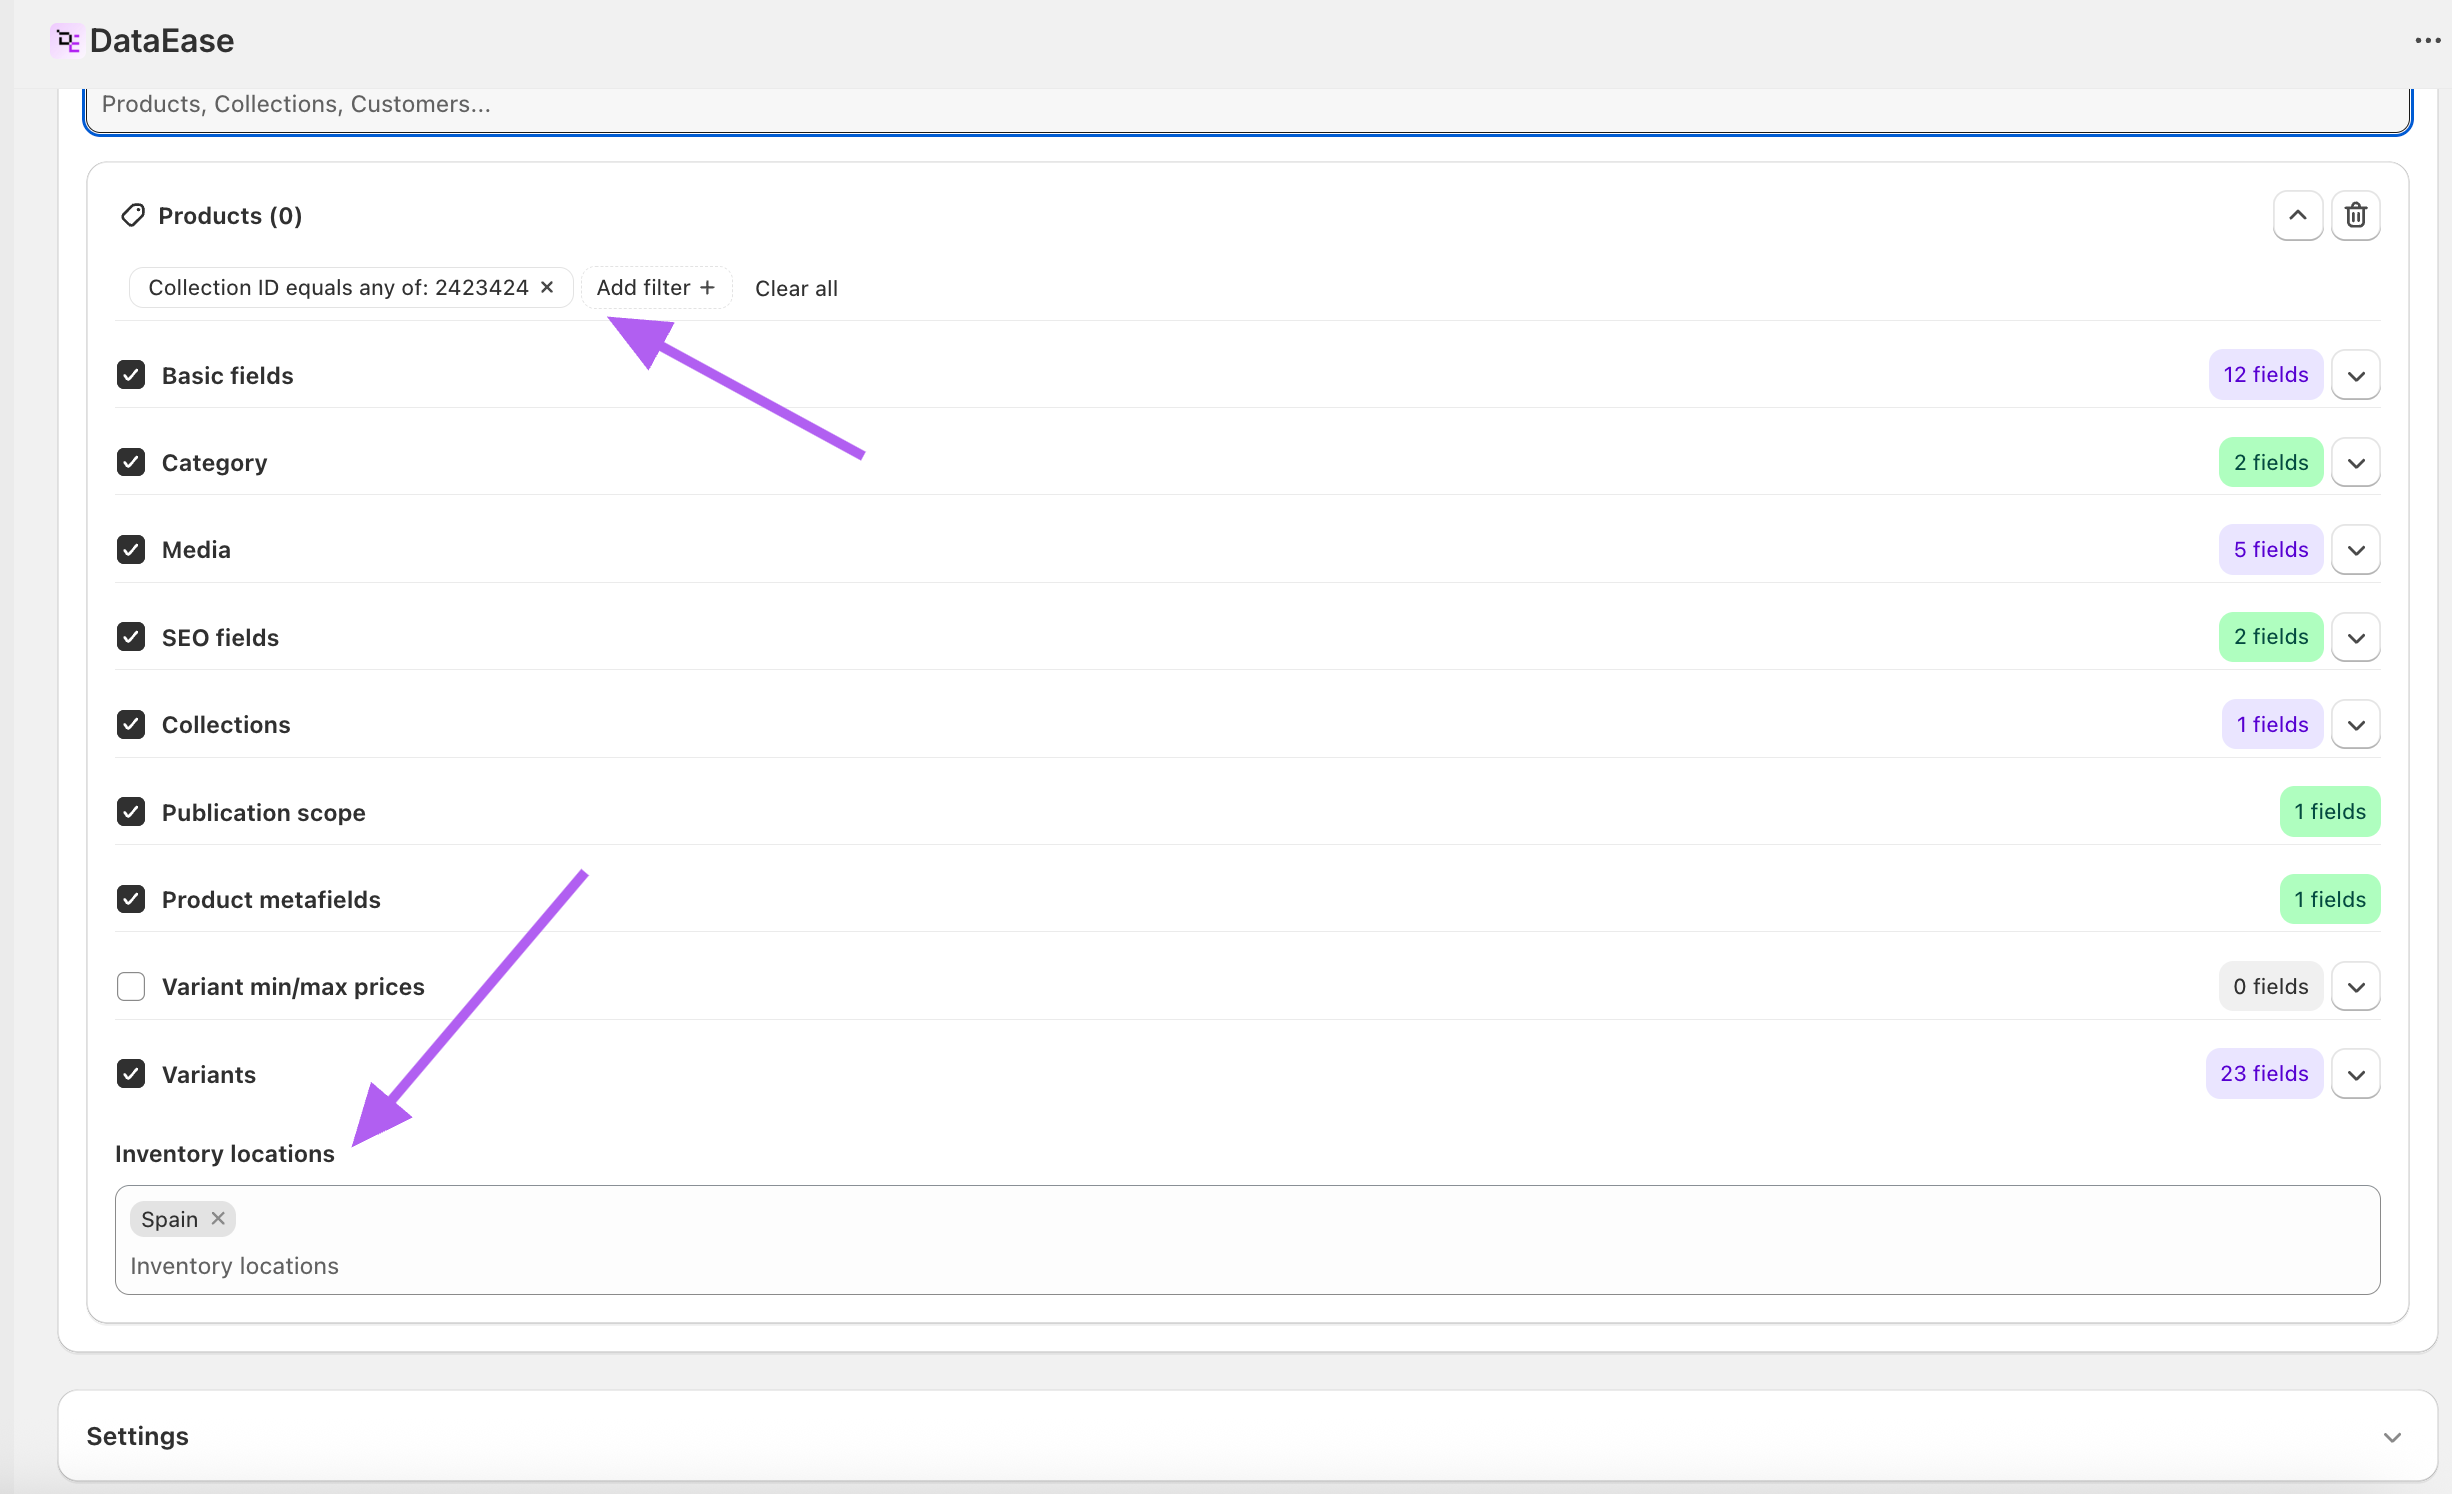
2. Apply the filter
- Collection ID: set it to export only products from a specific collection (you can copy the ID from a Collections export or from the Shopify Admin URL of the collection).
- Inventory locations: use this filter to limit results to specific locations you care about.
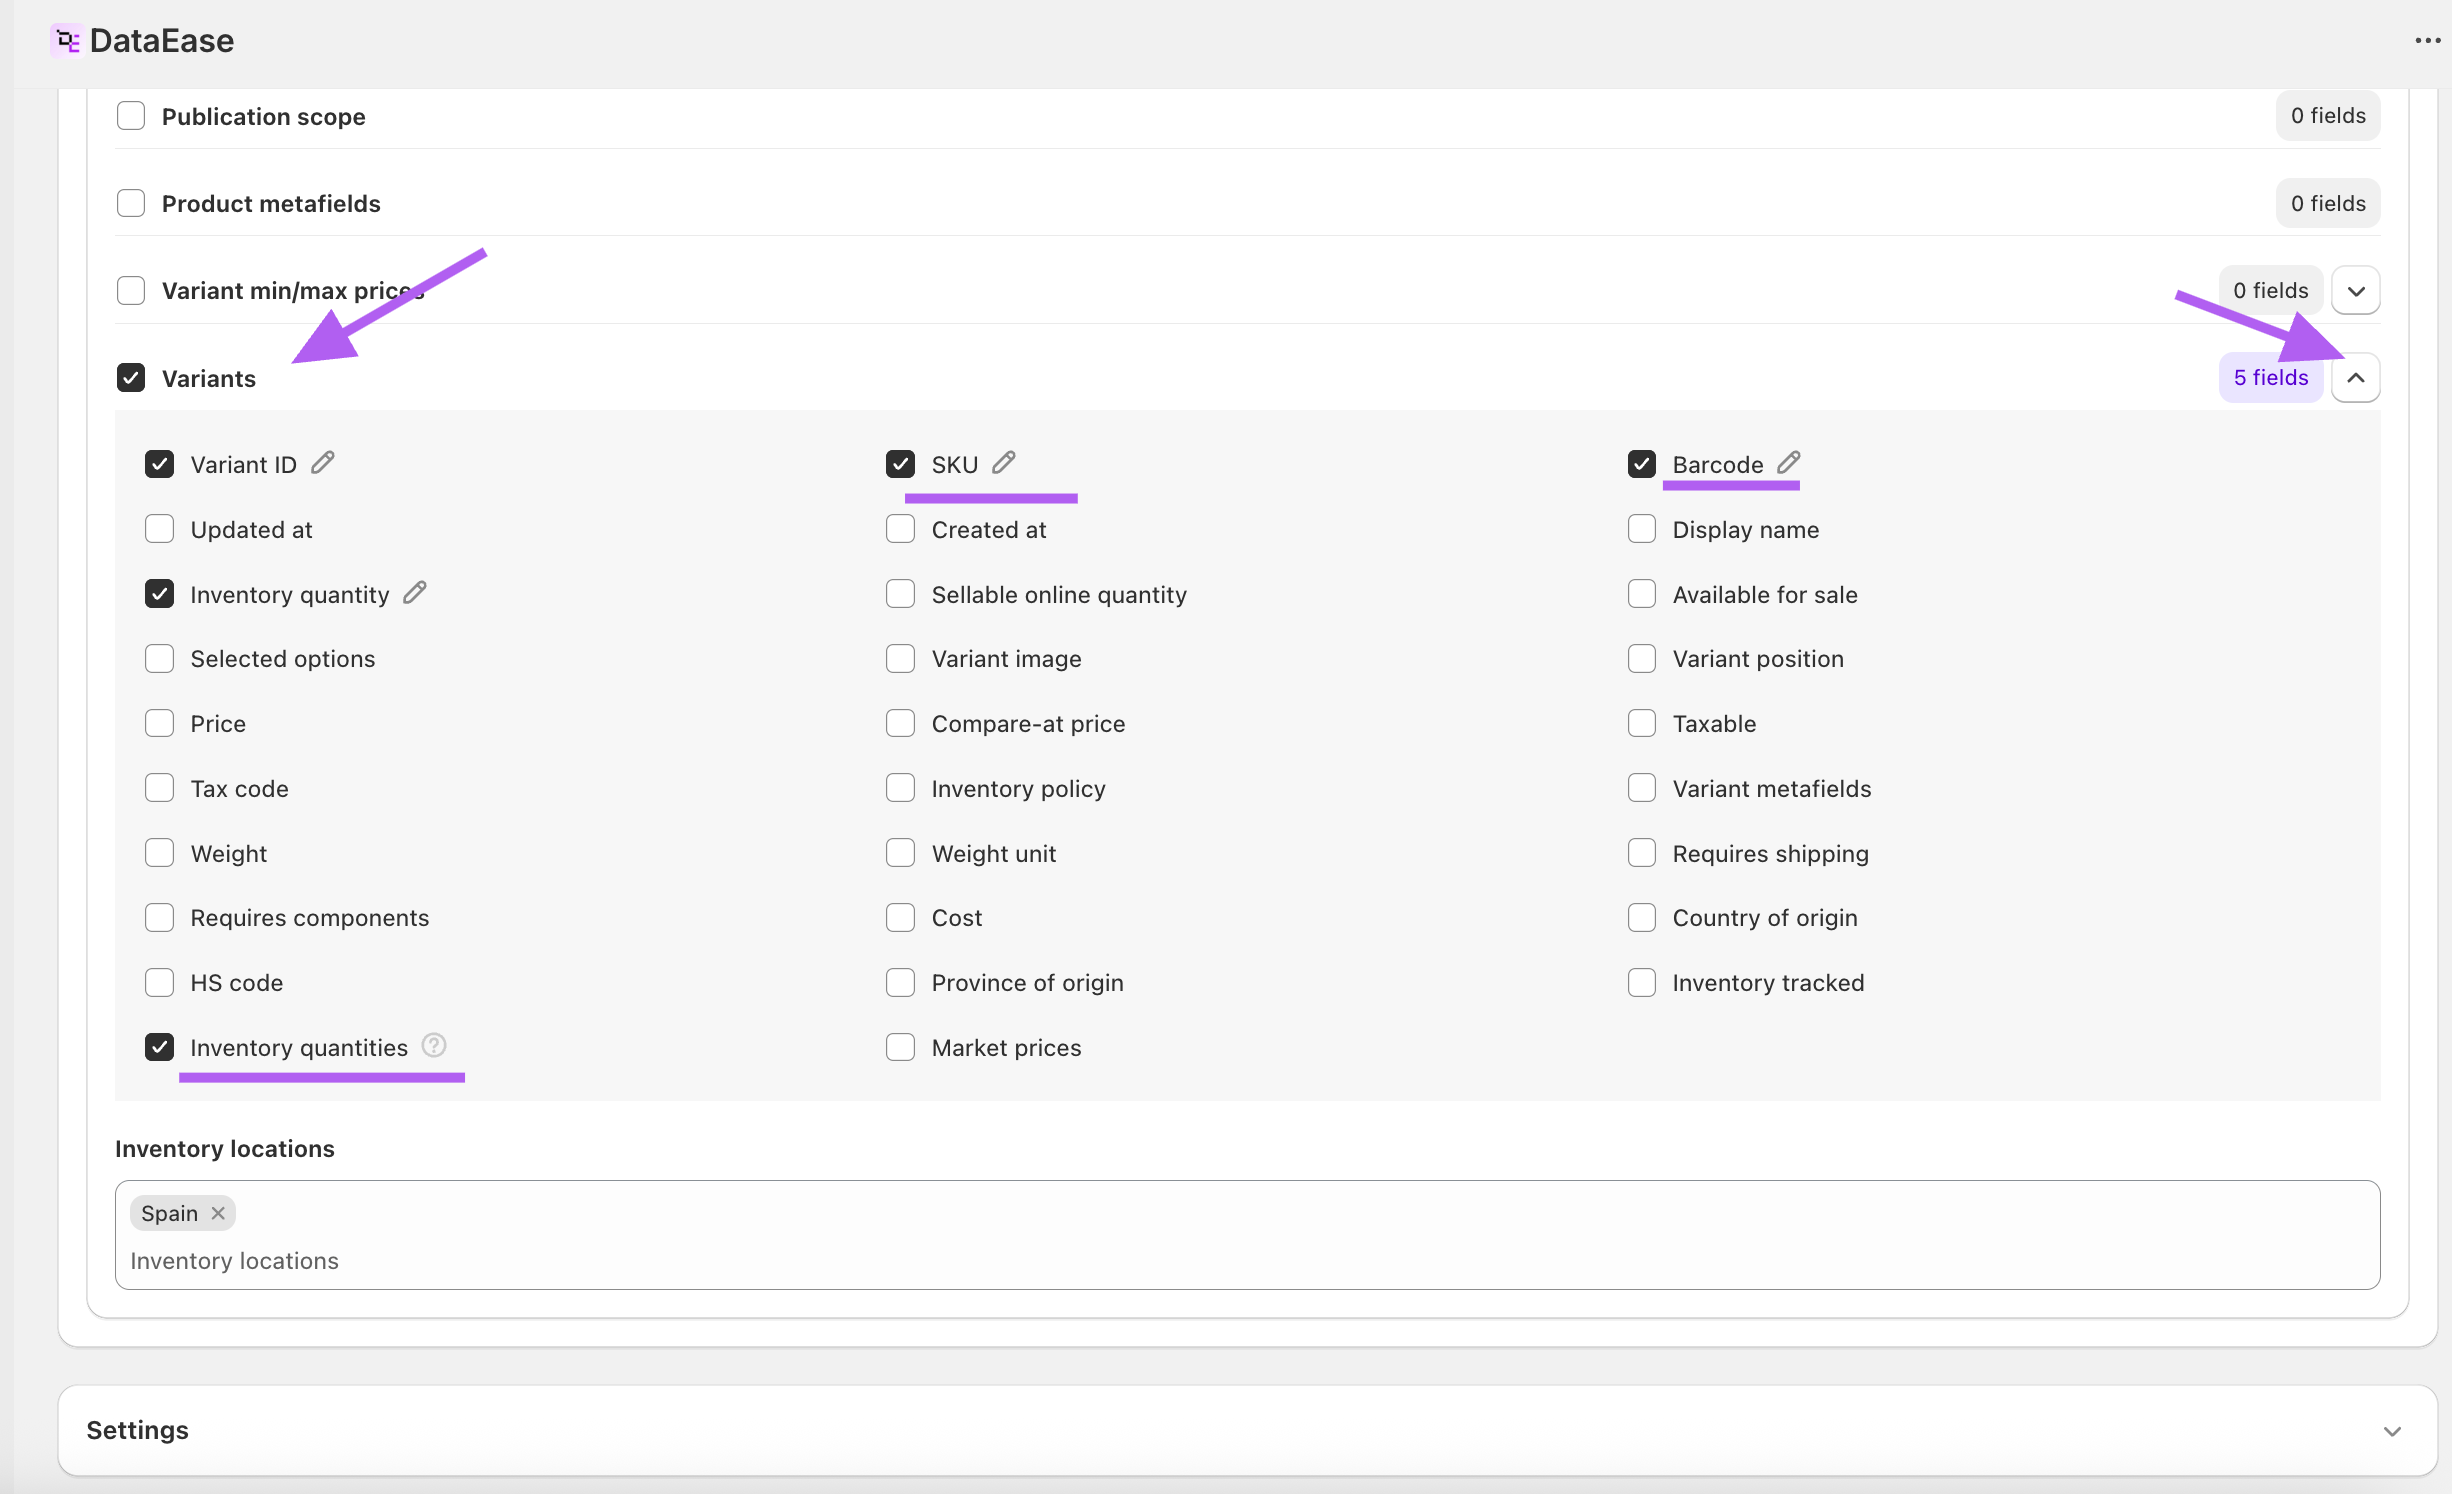
3. Choose fields to export
At minimum:
- Product/Variant identifiers: id, variantId (recommended).
- SKU / Barcode (select as needed).
- Inventory quantities — dynamic per-location columns (e.g., quantities: Spain, quantities: Warsaw Hub).
- (Optional) Inventory quantity — total on-hand per variant across locations.
- (Optional) product handle, title, variantSKU, variantTitle for easier review.
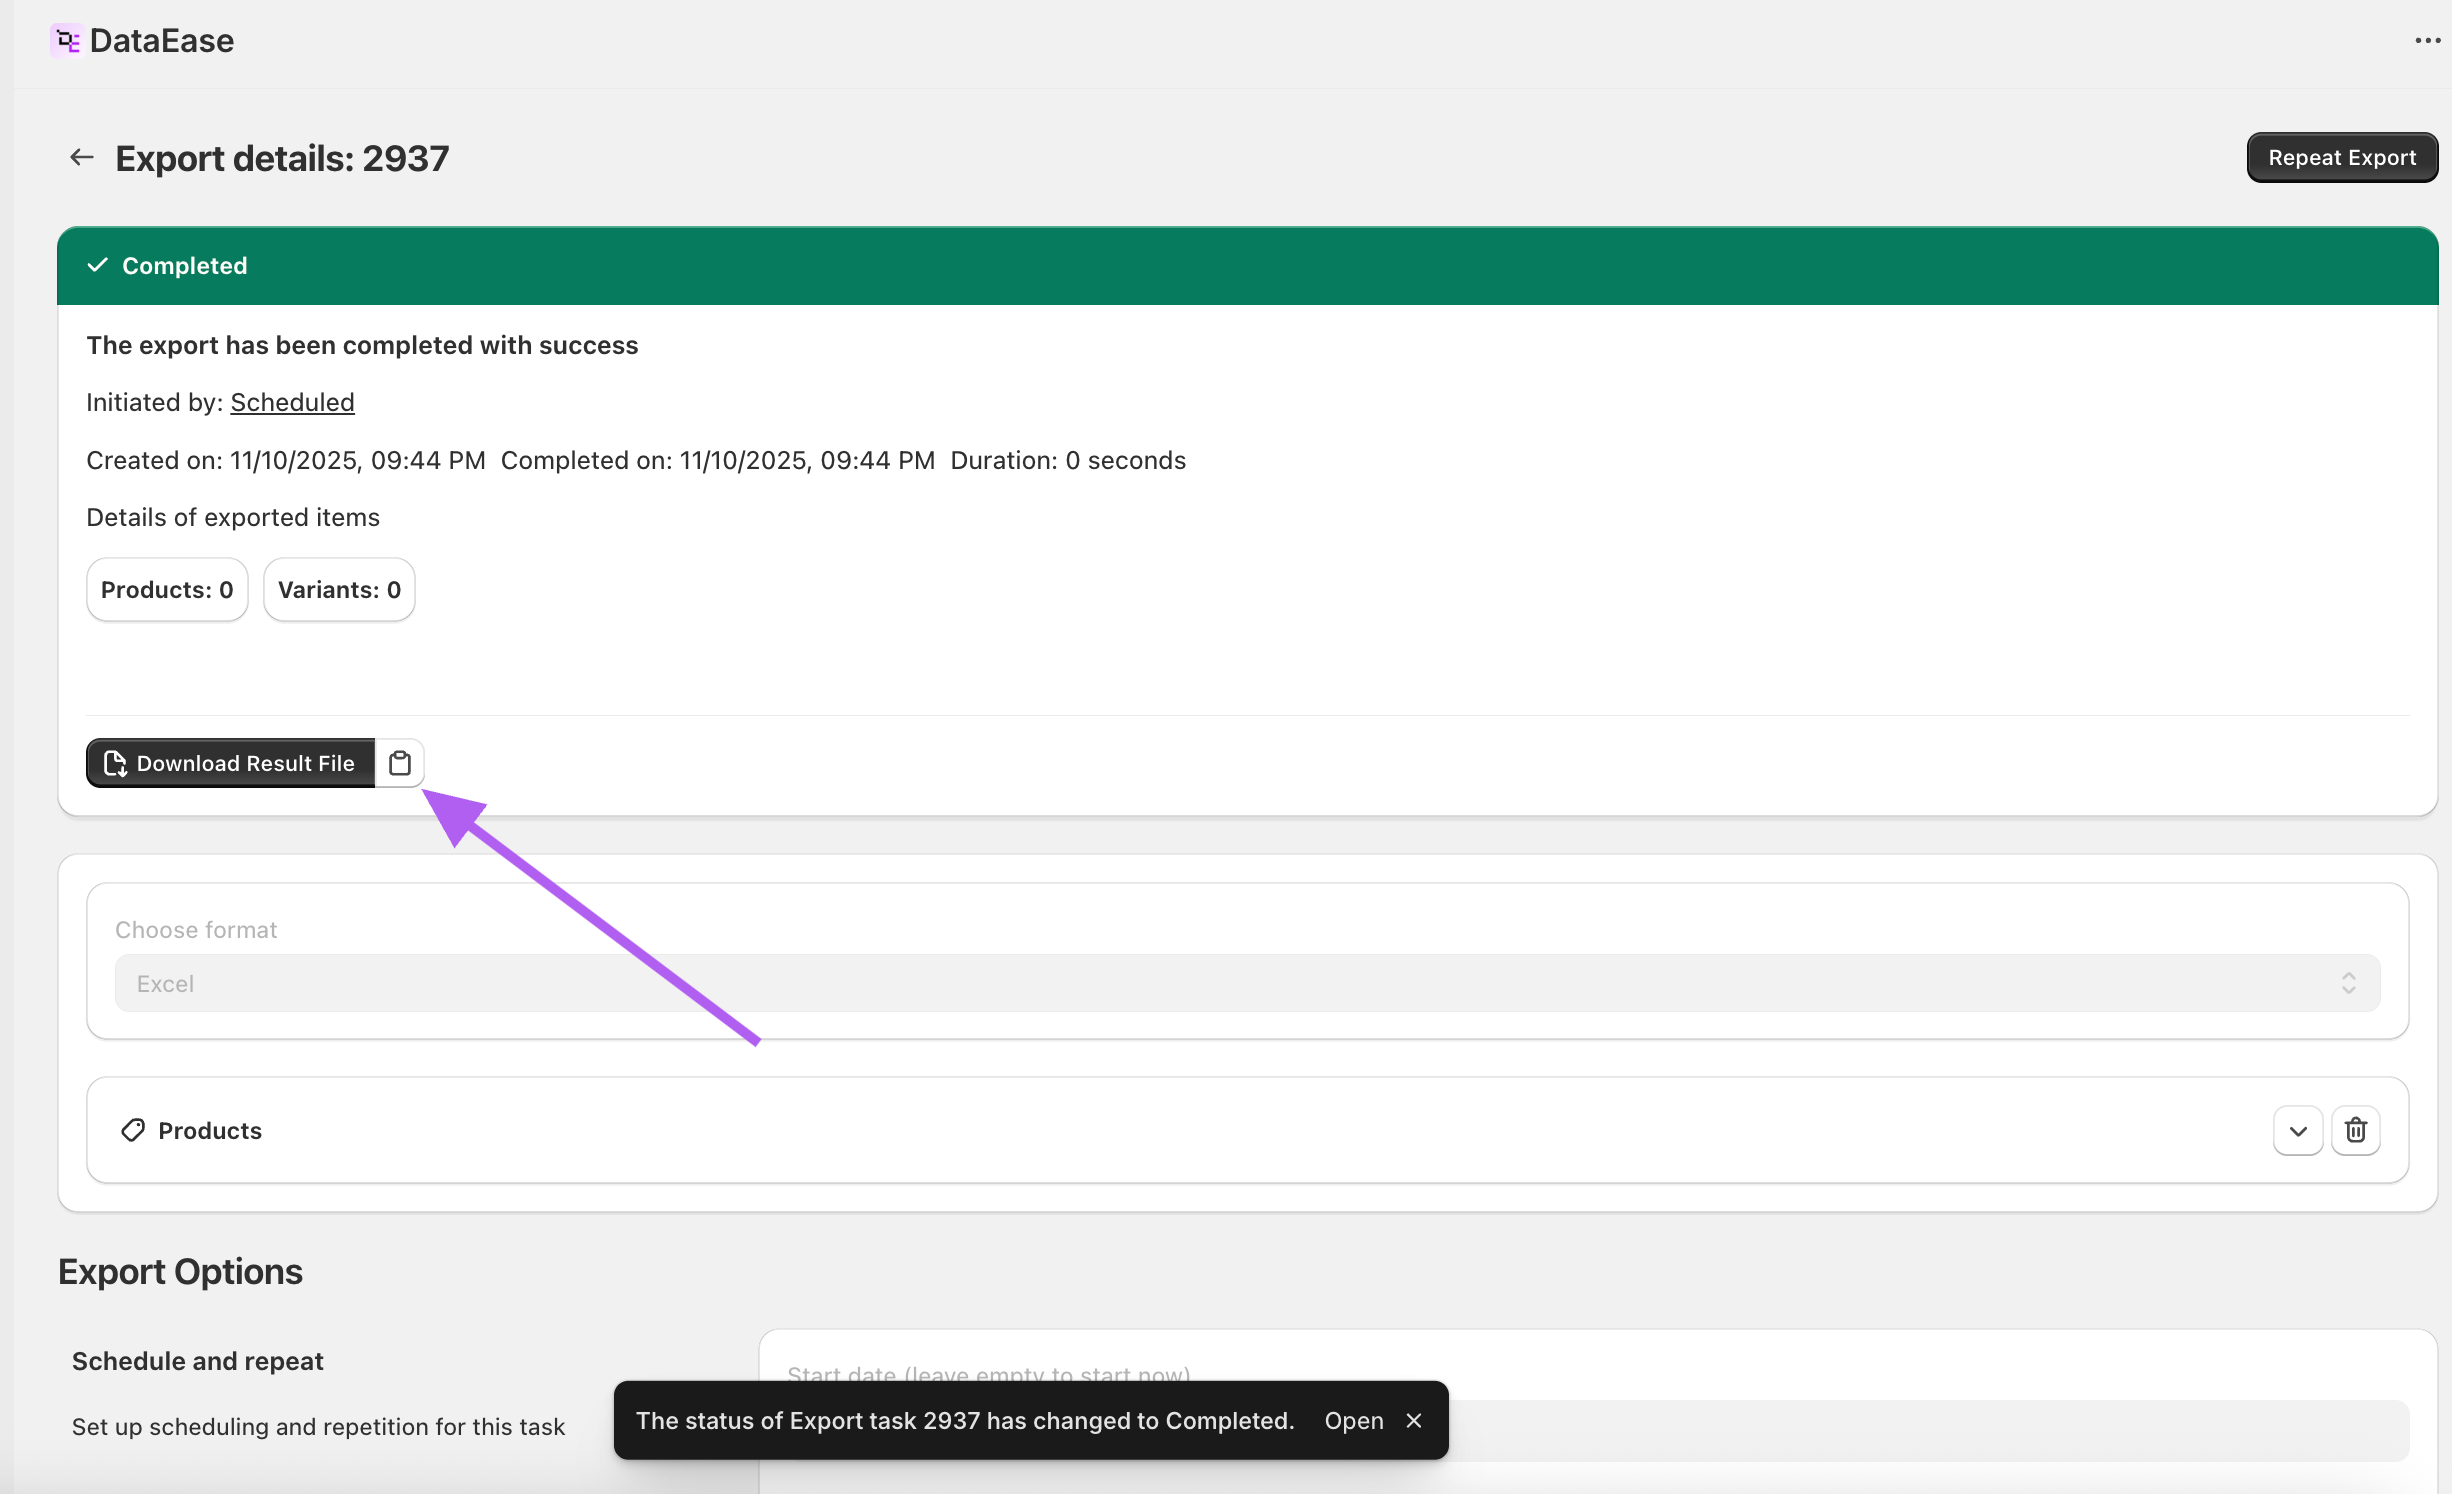
4. Run the export
Download the CSV/Excel file. Use Excel/Sheets filters to focus on a specific location column (e.g., show only rows where quantities: Warehouse A > 0 or = 0).
Tips
- Inventory quantities appear as dynamic columns per location; keep column headers exactly as exported (they match your Shopify location names).
- Inventory quantity is the total per variant across all locations that track inventory.
- You can combine Collection ID with Inventory locations to narrow both by catalog and by stock locations.
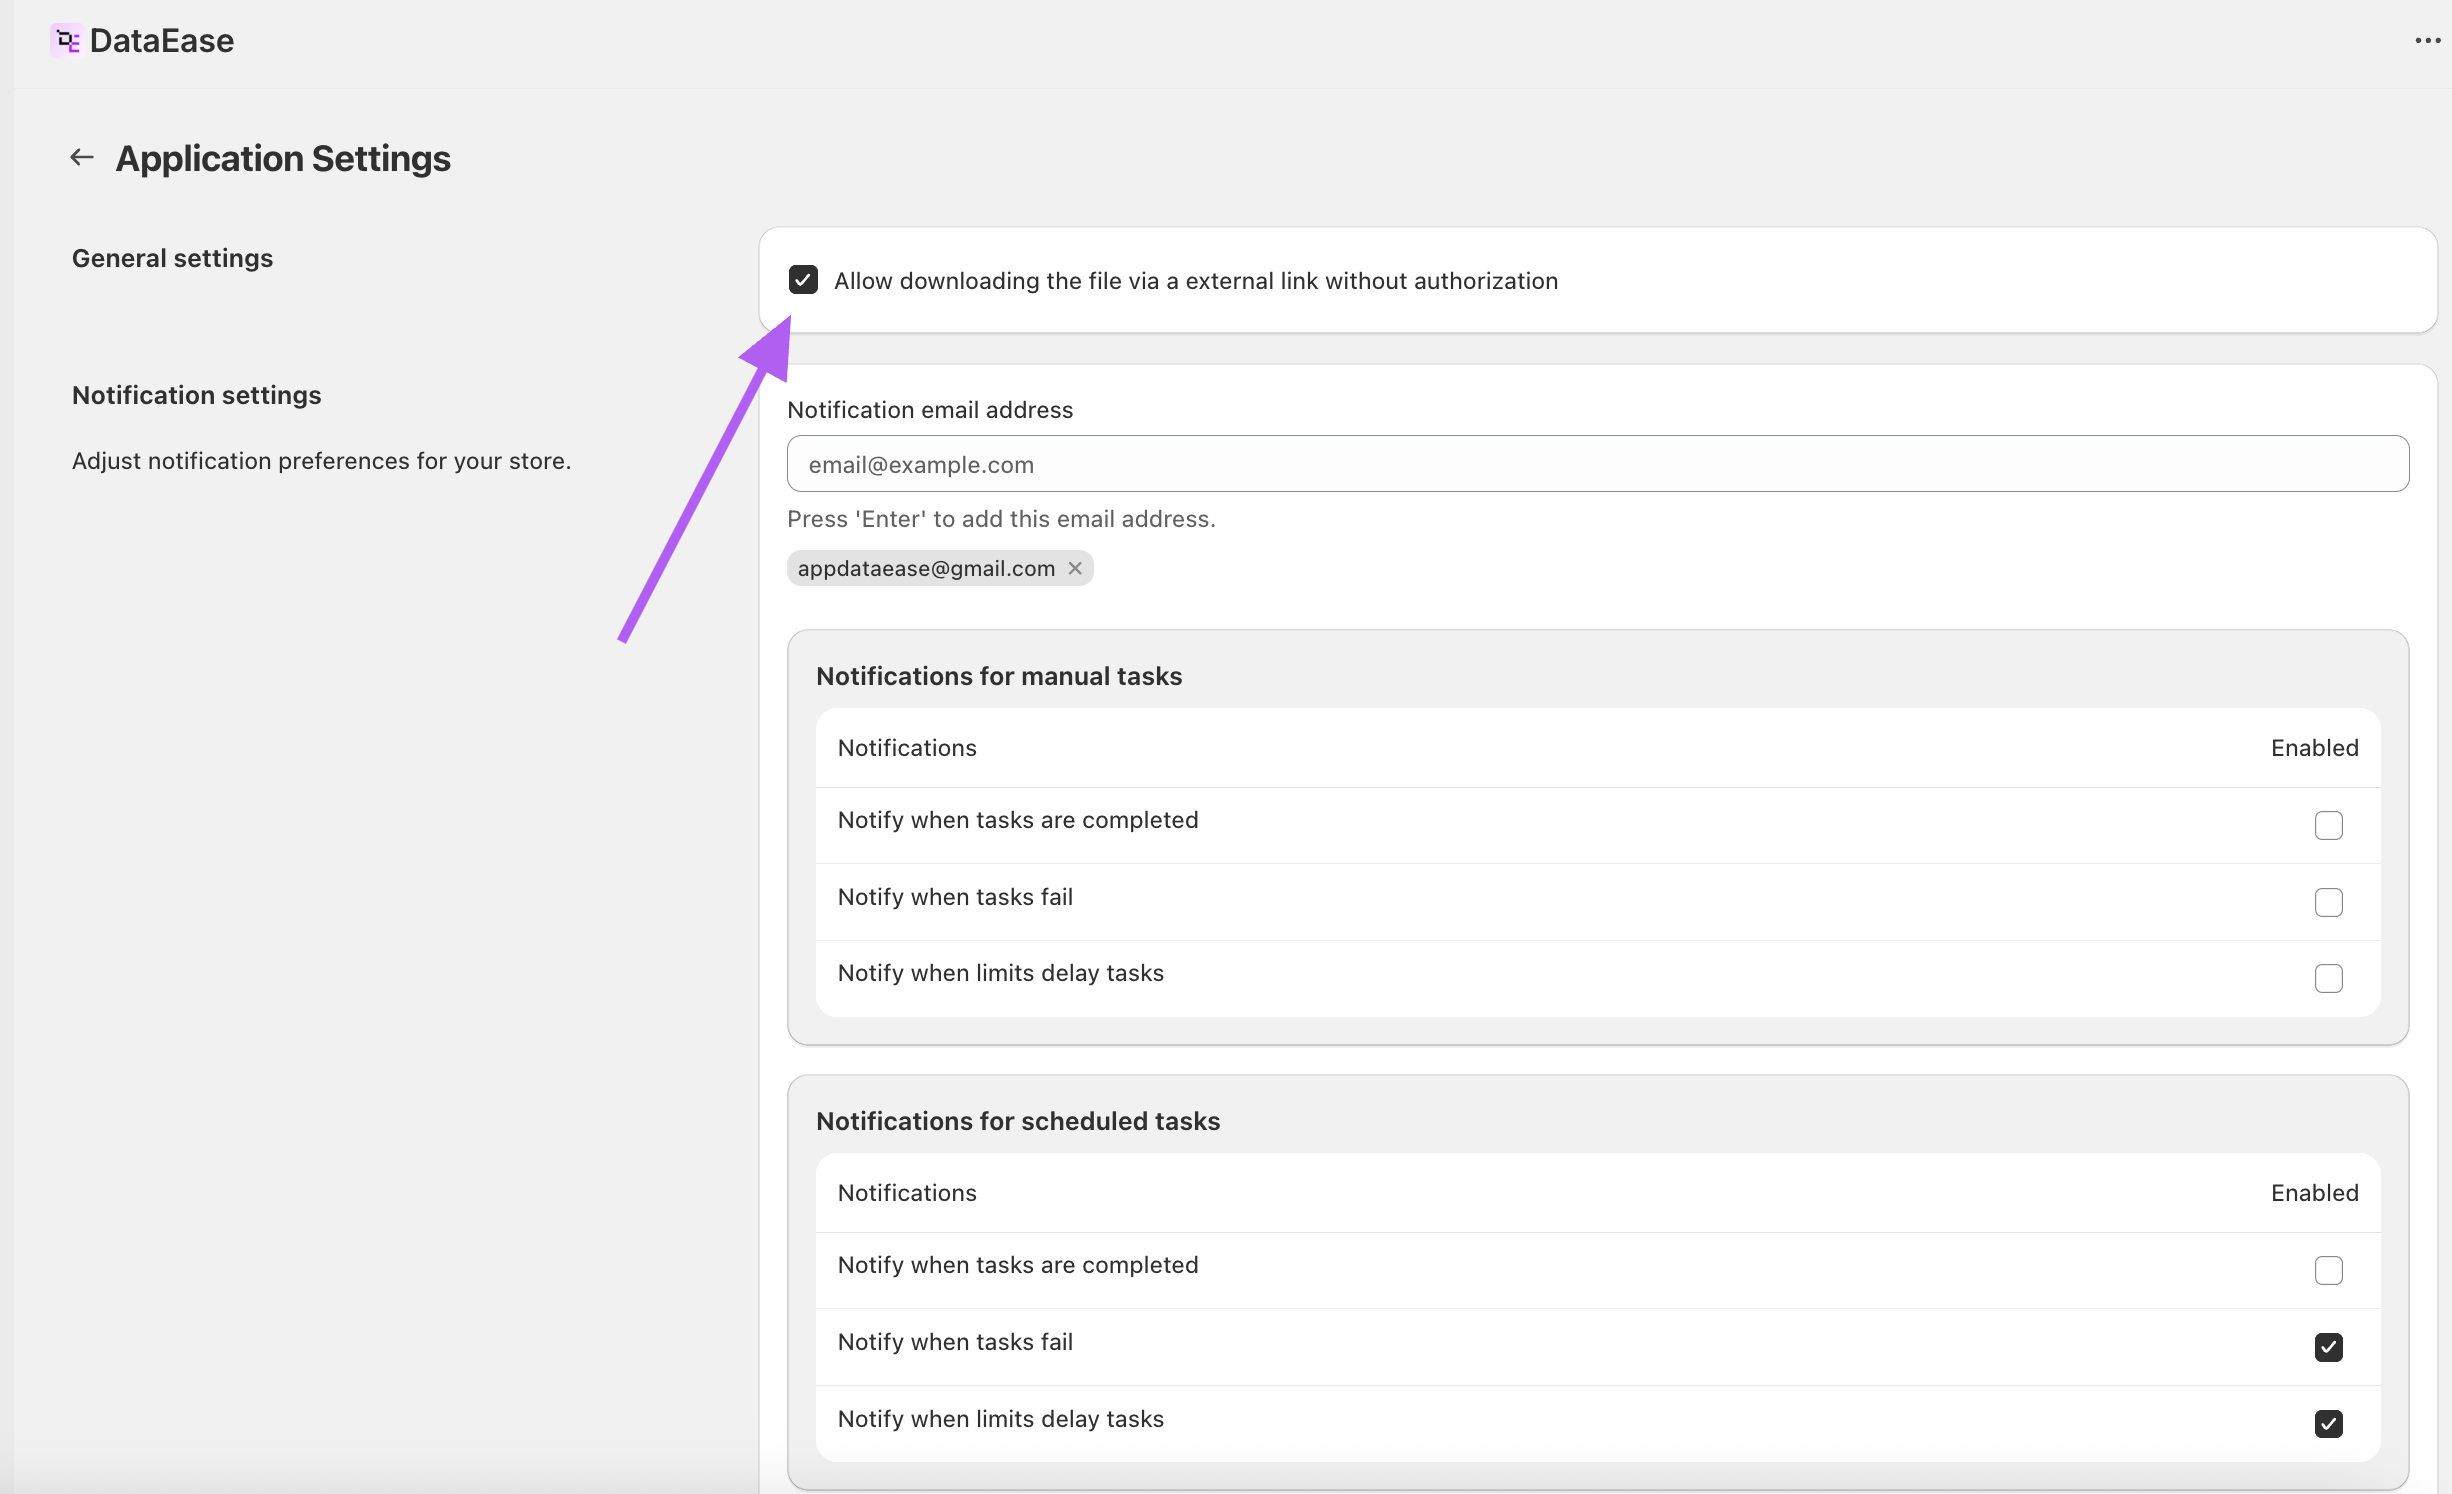
Schedule periodic inventory exports to the same file
- In App Settings, enable: Allow downloading the file via an external link without authorization.
- In your export’s Schedule and repeat block, check Enable repeat and choose the desired frequency.
- In Result file settings, set a fixed Filename.
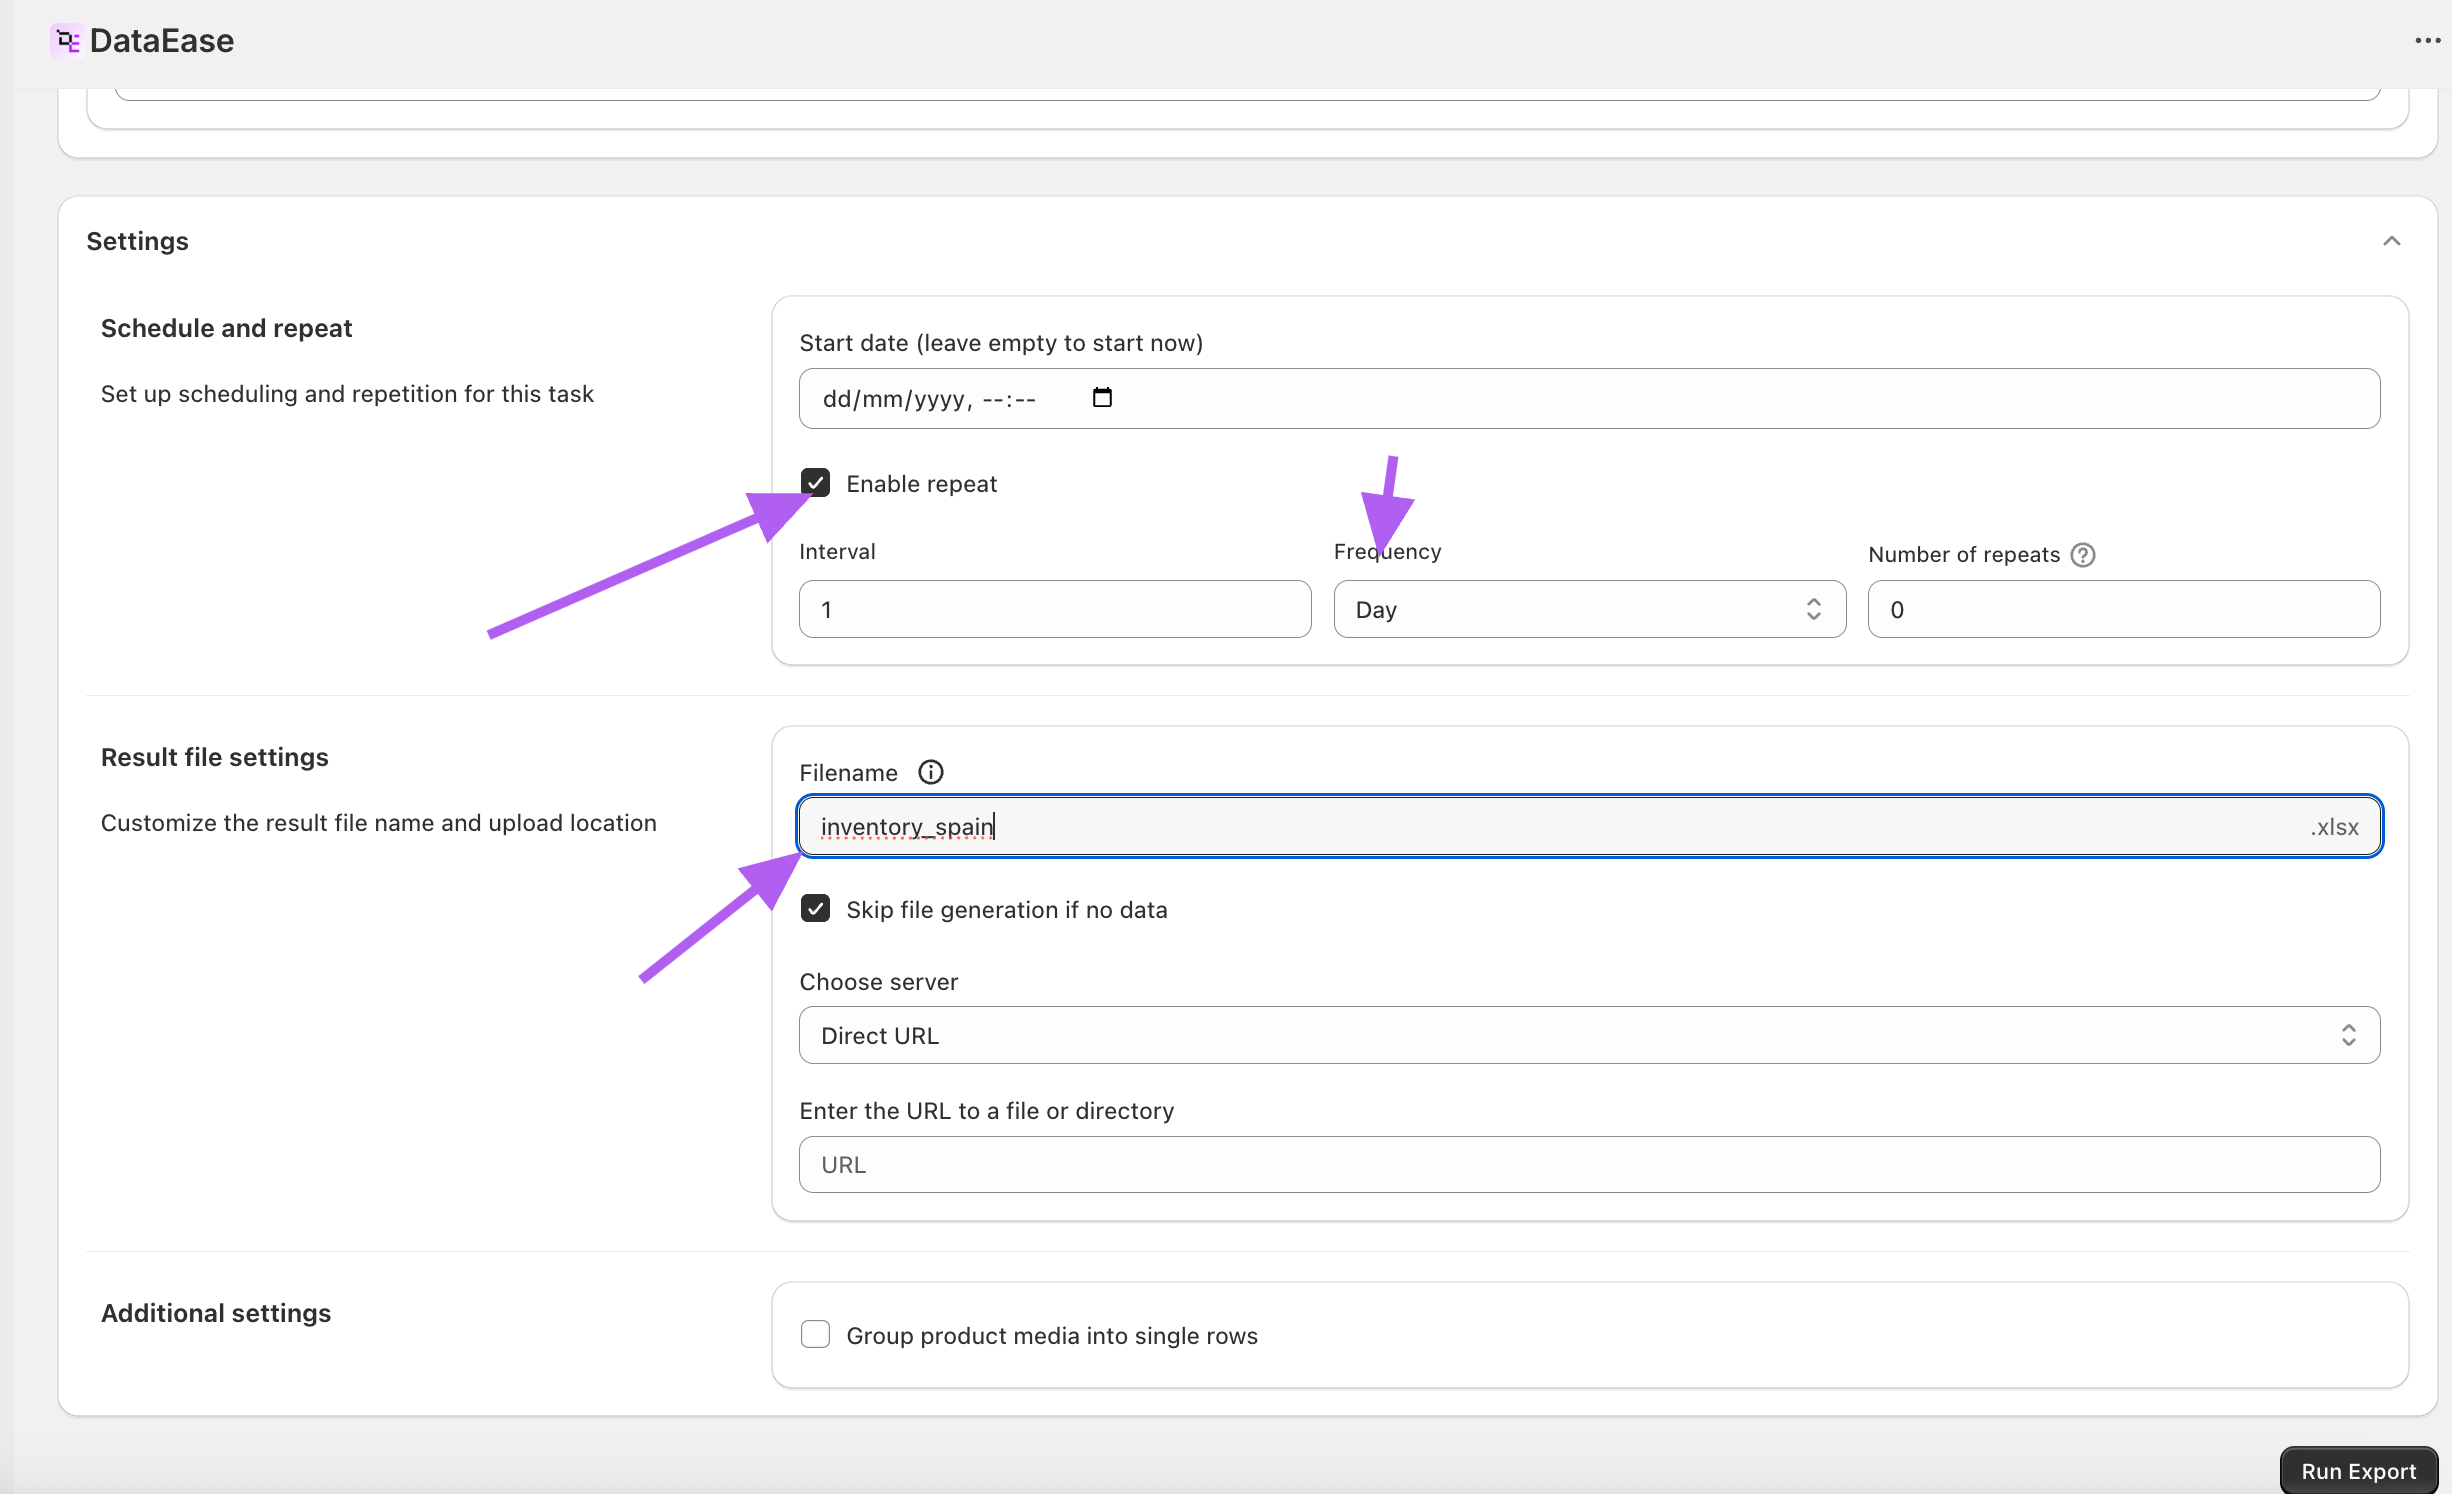
- Start the export.
- Copy the result link. After each scheduled run, the same link will serve the updated inventory file.